Flick list, with its momentum effect and elastic edge, becomes a common user-interface pattern since it was made popular by Apple iPhone a few years ago. Implementing this pattern using HTML and JavaScript seems to be a daunting task for many web developers. In this series, I will uncover the mystery of kinetic scrolling via several easy-to-digest code examples.
Before we go crazy and apply those fancy effects, it is important to set a solid foundation. Hence, the first part will deal only with an exemplary implementation of a basic drag-to-scroll technique (no momentum, no edge bouncing). The concept and also some parts of the code will be reused in the rest of the series. If you want to follow along and get the full code, check out the repository github.com/ariya/kinetic.
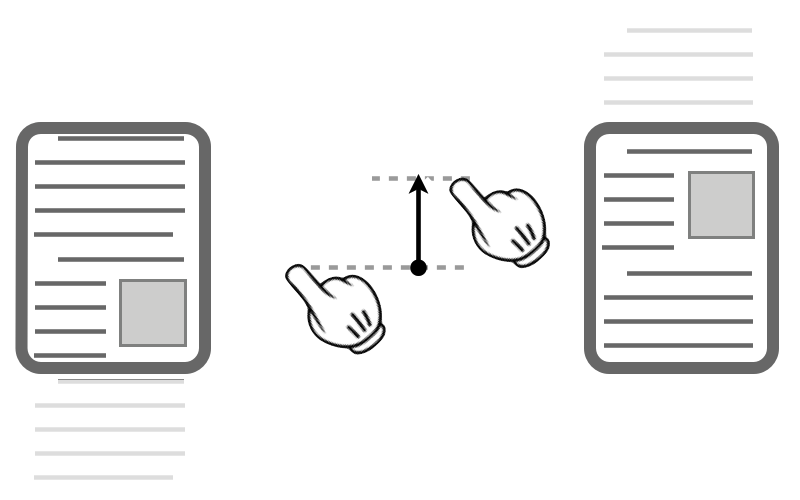
Here is the game plan. Let us assume that the view (a DOM element) we want to scroll is quite large. Being viewed on the limited device screen, it is as if the screen acts as a viewport window. Scrolling the content is a matter of translating the view while keeping the viewport fixed. In order to translate the view correctly (using CSS3 transform), we need to capture the user interaction with the view. As the user taps and then drags up/down the view, we need to control the offset accordingly to give the illusion that the view follows his finger’s movement.
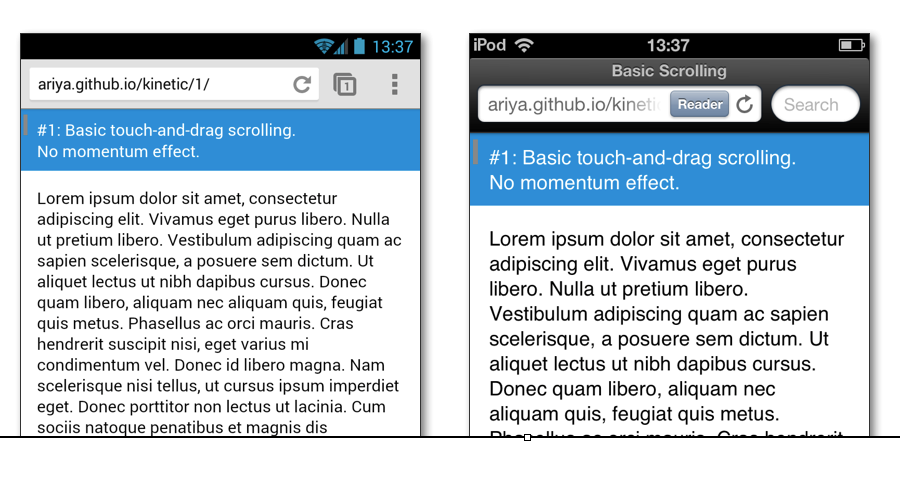
For this tutorial, the view contains the common Lorem ipsum text (generated via lipsum.com). Also notice that the scrolling is only in the vertical direction. To give an idea, try to load the demo ariya.github.io/kinetic/1 on your modern smartphone. It has been tested on Android 4.3 (Chrome, Firefox), Android 2.3 (Kindle Fire), and iOS 6 (Mobile Safari).
Since we do not want the browser to handle and interpret user gesture natively, we need to hijack it. This is achieved by installing the right event listeners (for both mouse and touch events), as illustrated below. The handlers tap, drag, and release have the most important role in the implementation of this scrolling technique.
view = document.getElementById('view');
if (typeof window.ontouchstart !== 'undefined') {
    view.addEventListener('touchstart', tap);
    view.addEventListener('touchmove', drag);
    view.addEventListener('touchend', release);
}
view.addEventListener('mousedown', tap);
view.addEventListener('mousemove', drag);
view.addEventListener('mouseup', release);
Initializing some state variables is also an important step. In particular, we need to find the right bounds (max and min) for the view’s scrolling offset. Because our view will occupy the whole screen, innerHeight is used here. In a real-world application, you might want to use the computed (style) height of the view’s parent element instead. As you will see shortly, pressed state is necessary to know when the user drags the list.
max = parseInt(getComputedStyle(view).height, 10) - innerHeight;
offset = min = ;
pressed = false;
If you try the demo, you will notice a subtle scroll indicator. Intentionally, this is placed on the left side of the view. This way, you will notice immediately that this is not the browser’s native scrollbar. That indicator needs to be placed anywhere between the topmost and bottommost of the screen, hence the need for a relative factor (will be used later). Bonus point: where does that hardcoded value 30 comes from?
indicator = document.getElementById('indicator');
relative = (innerHeight - 30) / max;
Since we want to adjust the view’s position using CSS3 transform, we need to figure out the right style property to use. A comprehensive detection can be employed, but the following simple approach already works quite reliably.
xform = 'transform';
['webkit', 'Moz', 'O', 'ms'].every(function (prefix) {
    var e = prefix + 'Transform';
    if (typeof view.style[e] !== 'undefined') {
        xform = e;
        return false;
    }
    return true;
});
Before we see the actual event handlers, let us take a look at two important helper functions.
Since both mouse and touch events need to be supported, the following ypos function abstracts the retrieval of the vertical position associated with the event.
function ypos(e) {
    // touch event
    if (e.targetTouches && (e.targetTouches.length >= 1)) {
        return e.targetTouches[].clientY;
    }

    // mouse event
    return e.clientY;
}
Another important function is scroll, it moves the view and the scroll indicator to the right place. Note that we need to clamp the scroll offset so that it does not go outside the computed bounds.
function scroll(y) {
    offset = (y > max) ? max : (y < min) ? min : y;
    view.style[xform] = 'translateY(' + (-offset) + 'px)';
    indicator.style[xform] = 'translateY(' + (offset * relative) + 'px)';
}
All good things come in three. The functions tap, release, and drag are essential to the core logic of the scrolling. Surprisingly, they are all simple and concise!
The first one, tap, is triggered when the user touches the list for the first. This is where we need to mark it as pressed.
function tap(e) {
    pressed = true;
    reference = ypos(e);
    e.preventDefault();
    e.stopPropagation();
    return false;
}
Later on, when the user releases his grip, we need to undo the marking via release.
function release(e) {
    pressed = false;
    e.preventDefault();
    e.stopPropagation();
    return false;
}
Every time the user moves his finger, we know exactly how many pixels it has moved (since we always track the last point). This way, the view’s offset also receives the same amount of relative scrolling movement. A simple threshold of 2 pixels is used to prevent jittering due to some micromovements.
function drag(e) {
    var y, delta;
    if (pressed) {
        y = ypos(e);
        delta = reference - y;
        if (delta > 2 || delta < -2) {
            reference = y;
            scroll(offset + delta);
        }
    }
    e.preventDefault();
    e.stopPropagation();
    return false;
}
And that’s all the scrolling code! Overall, it weighs just around 80 lines.
Feel brave and want an exercise? Tweak the scroll indicator so that it fades in and fades out at the right time (synchronized with the pressed state). Its opacity can be animated with CSS3 transition.
Also, keep in mind that the code presented here serves mostly as an inspiration. It is optimized for readability and not for performance (extreme JavaScript optimizations, GPU compositing, etc). Your real-world implementation needs to be more structured, robust, and well-tested.

How about the performance? Well, at this stage, there is hardly anything computationally expensive. The scrolling speed can be checked either using Chrome’s frame rate HUD or painting time. More detailed timeline is also available via Chrome Developer Tools. The above capture shows the frame statistics on a Nexus 4 running Chrome 28. We are well within the limit of 60 fps!
In the next installment, watch how the momentum effect gets implemented. Stay tuned.
Update: I already published the second part, covering the physics behind the inertial deceleration.